Introduction to Synerflight Synerduino Platform for Surface Vehicles
these App Drive-able Vehicles to demonstrate its functionality for your Robotic Projects for remote command and control function.
all you need is a Phone/Tablet and the downloaded app below.
App may require some Permission on your Android Device Settings
- Allow install from outside sources
- Location
- File Storage
Try our Drone Development Application
STEP – 1
Select your app
STEP – 2
Select your Vehicle
Each Vehicle has an bluetooth address associated to it. Pair this address to your phone Default Password: 1234
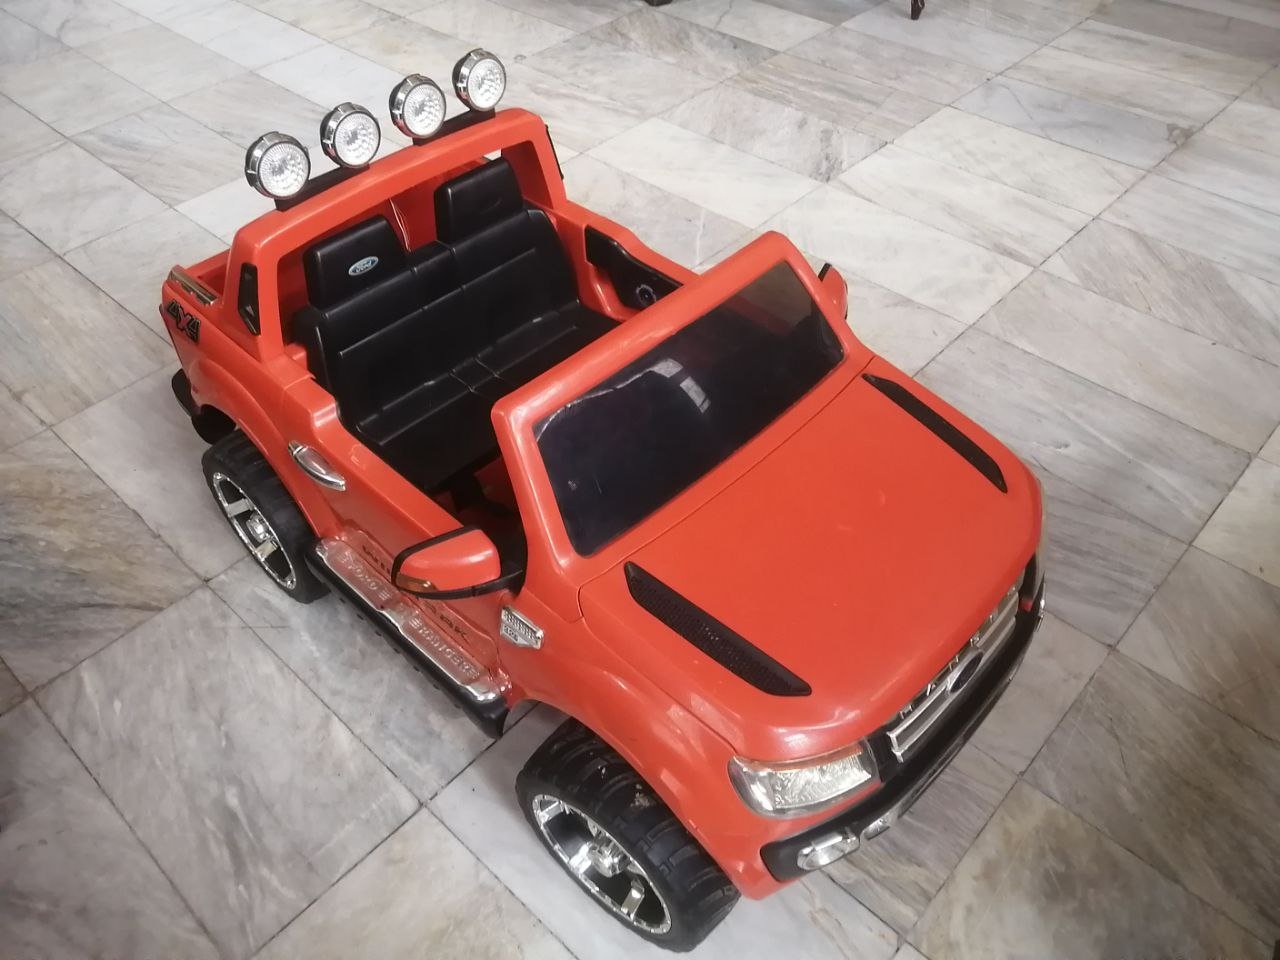
Synerduino5
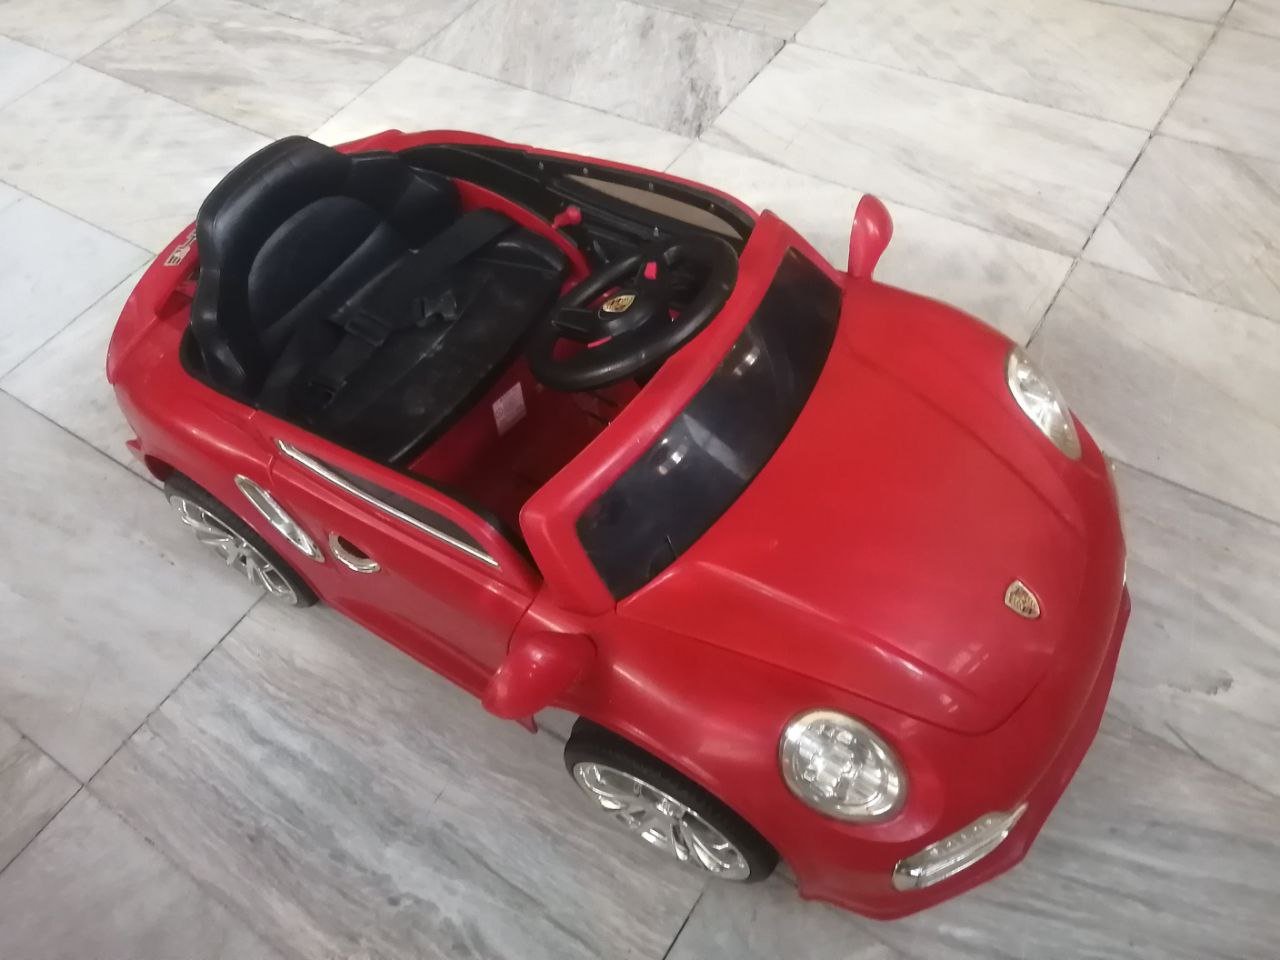
Synerduino2

Synerduino1
STEP – 3
Pair your App
We recommend the Synerduino Surface AGV app for introduction
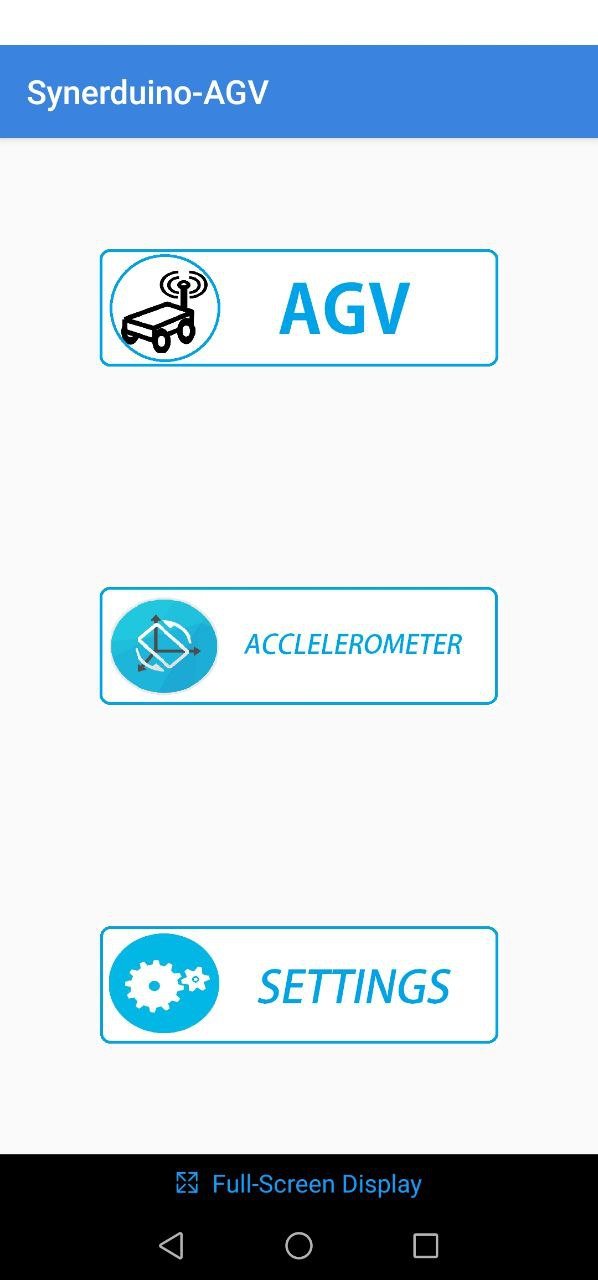
Main Menu
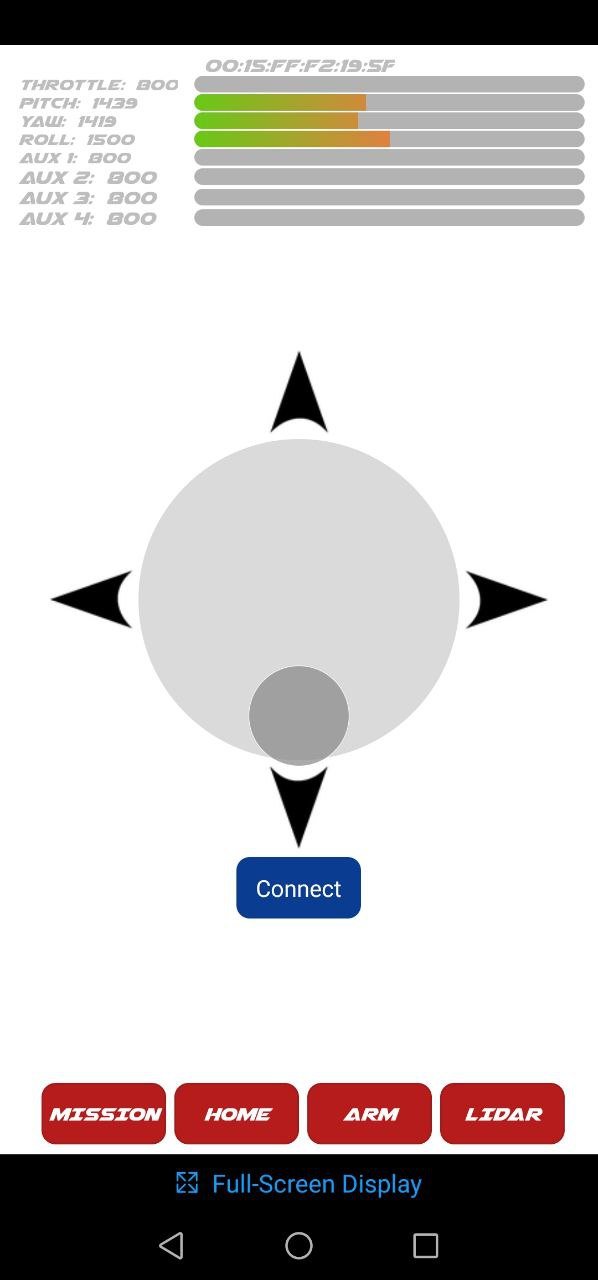
Accelerometer of your phone to drive the Vehicle
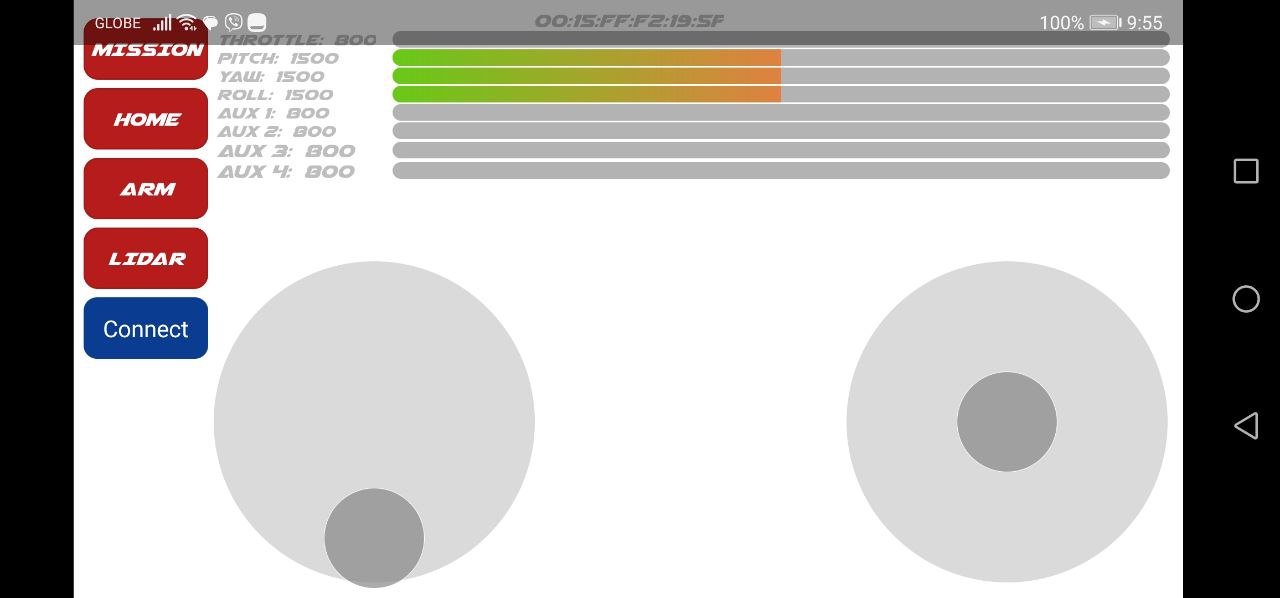
Standard control mode
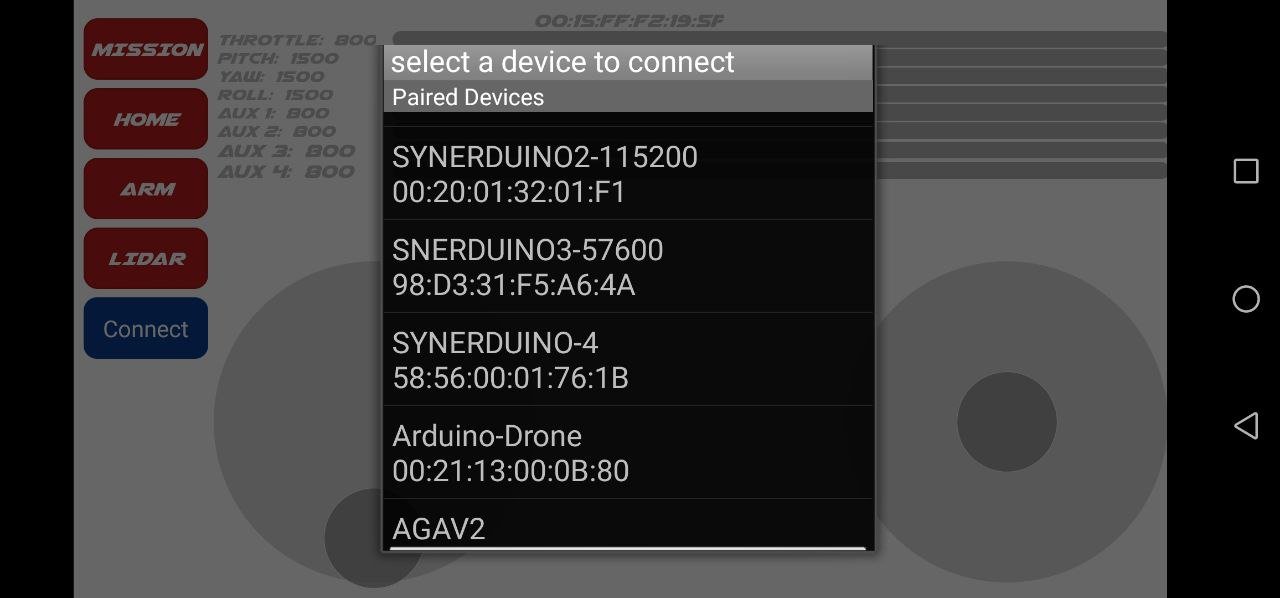
Click the connect button to pair with the Vehicle
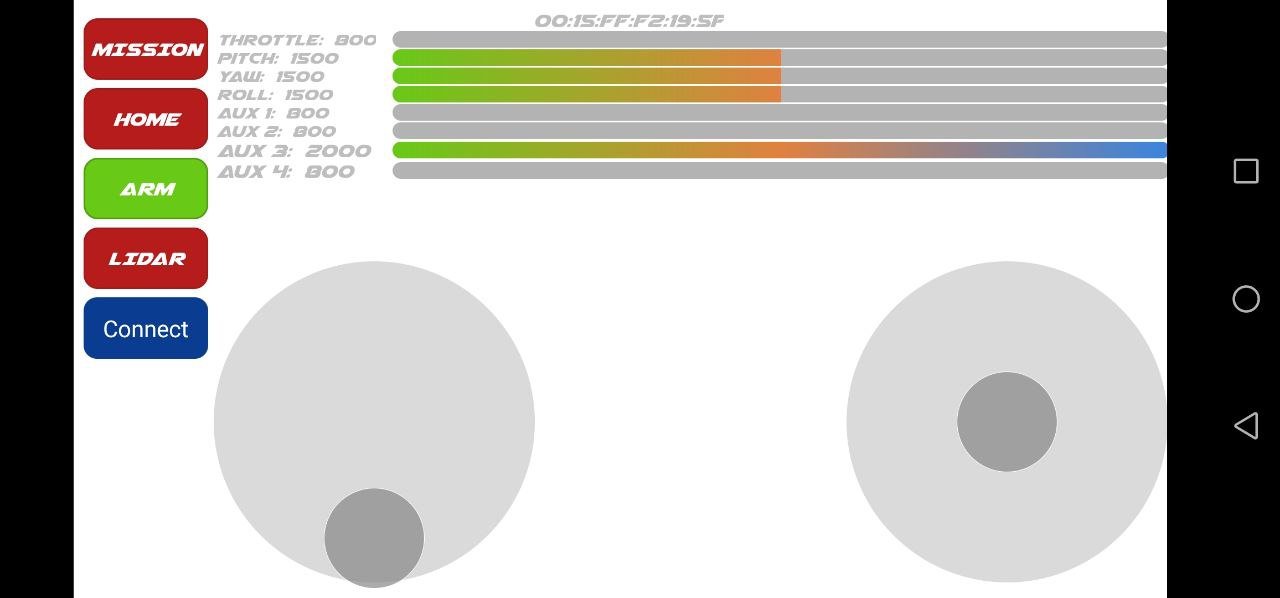
slide the left control up and down then select the Arm button as assign on settings
STEP – 4
Settings when you need to do some changes in responsiveness and Button Label Assignment
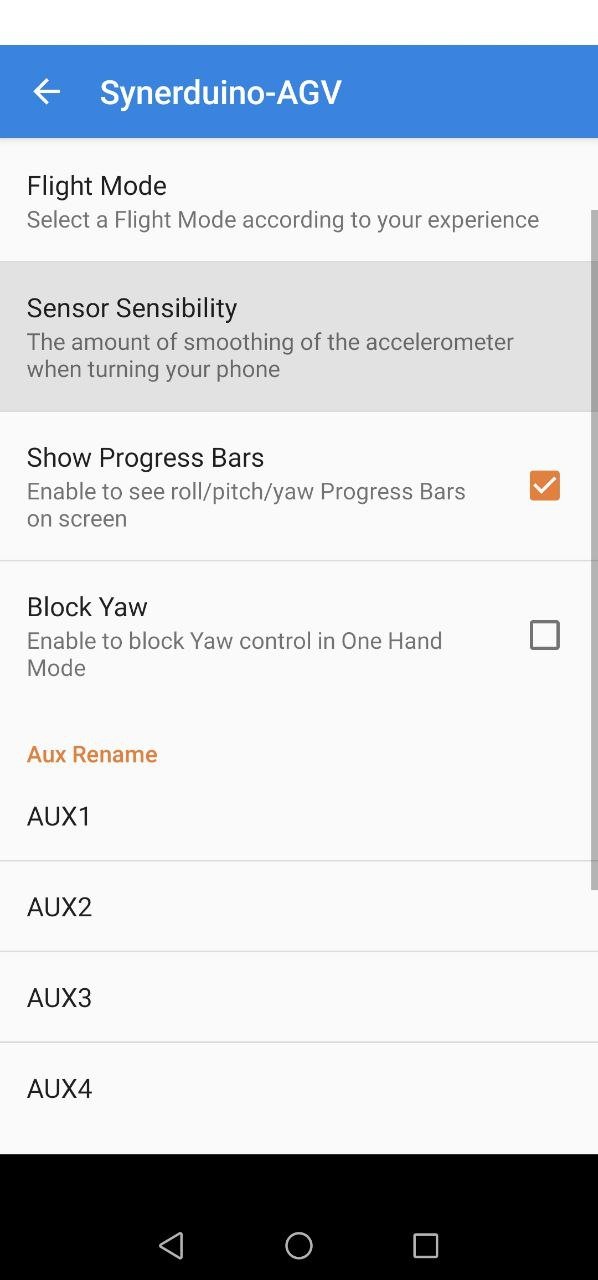
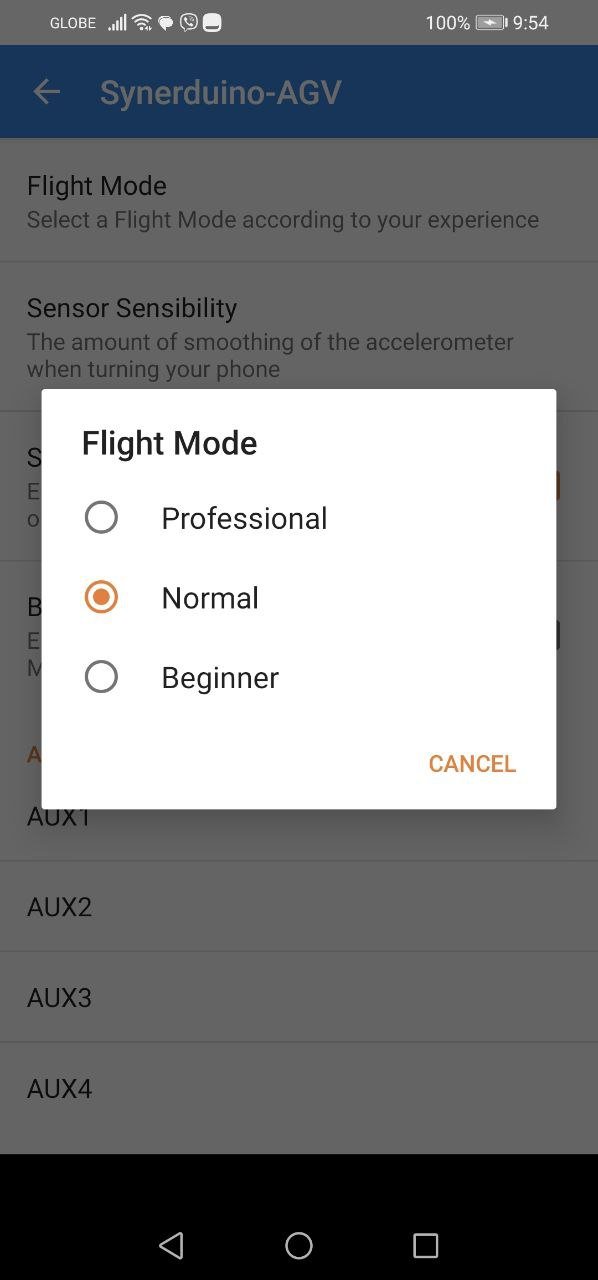
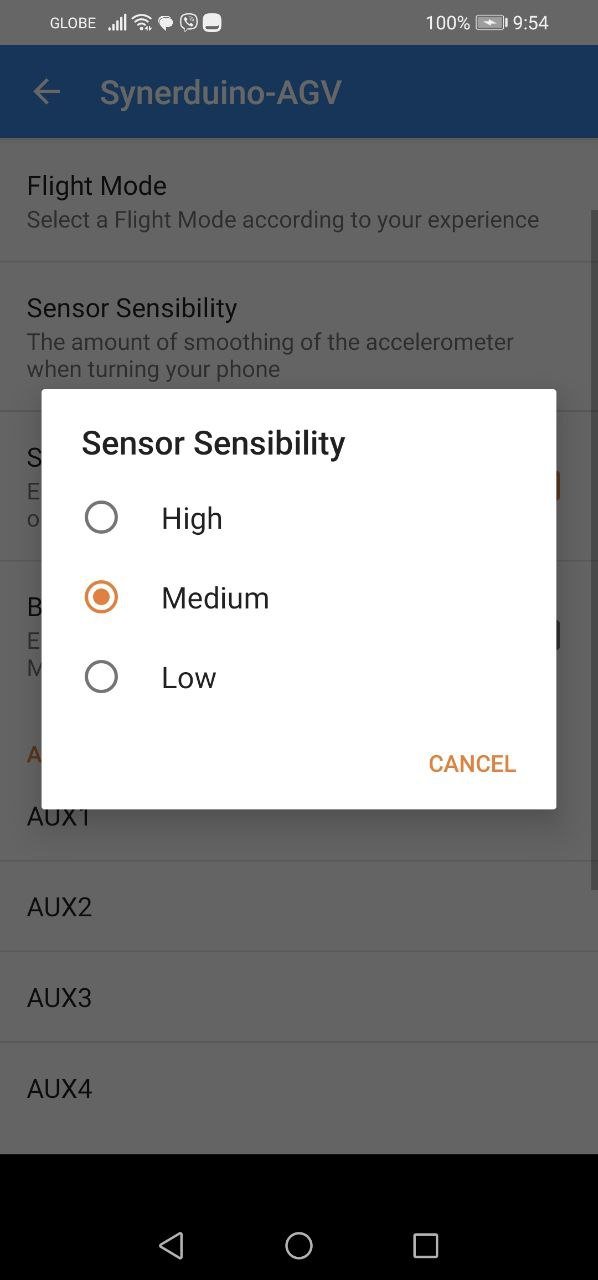
Overview
Synerduino Surface / Rover setup is some what unique as it requires the Mag sensor to be physicaly relocated to the steering component of the vehicle
in essence you steer by pointing the wheel to the heading you wish to go.
