
How Can We Help?
Thermal Sensor Implementation
using the AMG 8833 Thermal sensors implementation

Each block represent by the grid correspond by the Temperature in Celsius. and for the PWM Aux a general overview of the highest temperature average log into the FlywiiGUI Telemetry
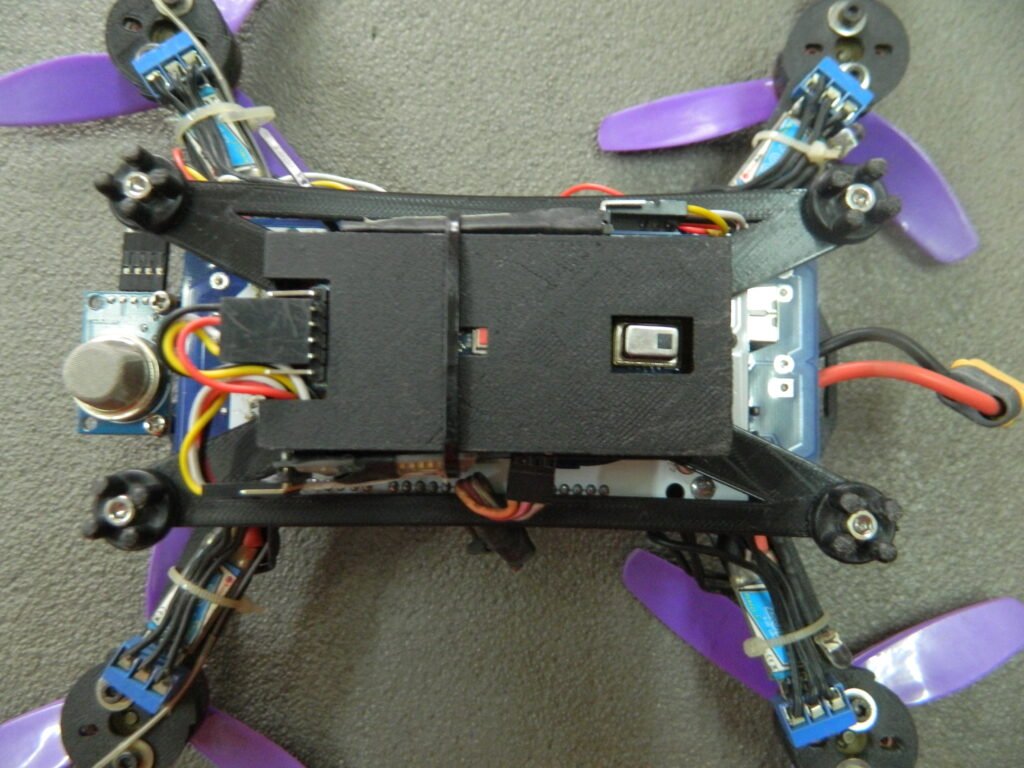
this uses the AMG 8833 Panasonic Grid eye implementation where the sensor is decoded by the Arduino board and link to the Aux PWM of the Synerduino shield Hence giving it temperature sampling capability even at an height of 7 meters this implementation along with GPS logging and missions gives the use case of localize area temperature monitoring .
Example of the Temperature telemetry Log is 25C degrees = 1250ms in PWM this is outputted to the telemetry log along side the GPS coordinates for mapping area temperature in general
Setting up the Bluetooth telemetry
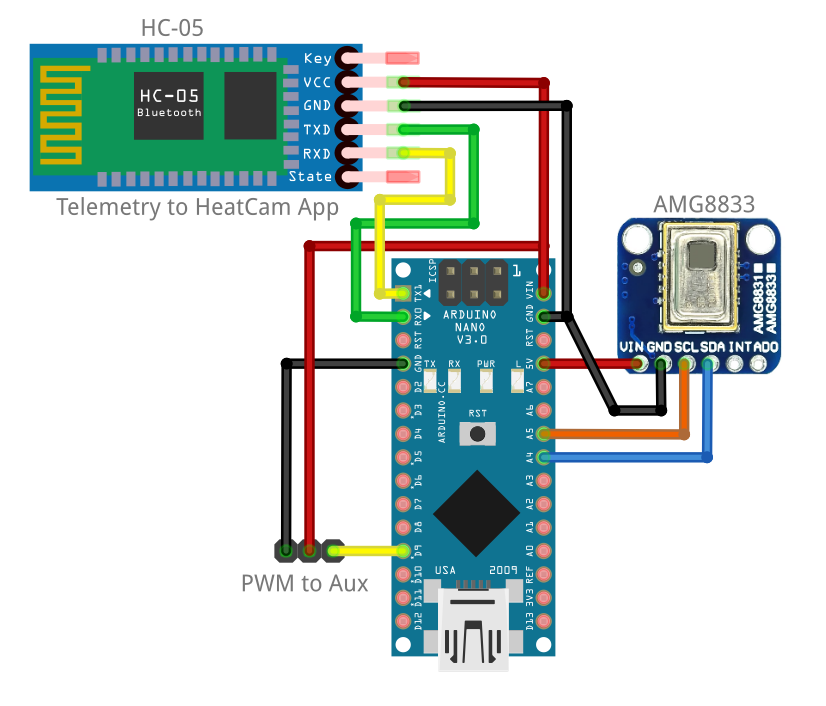
Bluetooth setup with the USB TTL Device and Arduino IDE
Connect to your USB TTL to your bluetooth in an V, G, RX>TX, TX>RX arrangement on the serial Pins
push the button on the Bluetooth (Version 2 & 3 ) while plugging the USB TTL Device in to the computer which puts the bluetooth to programming mode
identify Device Com port and Device manager of your computer and Select the comport of the Bluetooth in the Arduino IDE Tools >Port
Arduino IDE>Tools>Serial Monitor (hold the Button while Plugging the USB) to go programming mode Set (Baud 38400) (Both NL & CR)
Hold Press when sending AT command (Version 5)
AT : check the connection
AT+VERSION : Check Version
HC-05 (Recommended)
AT+NAME=ChangeName
AT+PSWD=1234 (Version 2)
AT+PSWD=“1234” (Version 3) (Possibly works on Version 5)
AT+UART=115200,1,0 (for synerduino shield or Thermal sensor)
Note: In this sample we use a Bluetooth as its easy to implement . this can be updated to SIK Serial Telemetry Radios in Raw data format. for longer range . the setup can be found in the main Drone PDF documentation
In the DATA folder contains the the data.txt change the COM# number to the one assign to your bluetooth or USB on your computer Device Manager
Download HeatCam Application
Note : the Application contains both EXE and PDE format . to use PDE you must download Processing 3 or 4 from Processing.org
Download Heatcam with FPV camera integration
Some UVC devices Require a Virtual webcam to operate . you may use split cam application to augment the UVC device for your computer to read as webcam. Heatcam and Webcam overlay is also available as PDE