
How Can We Help?
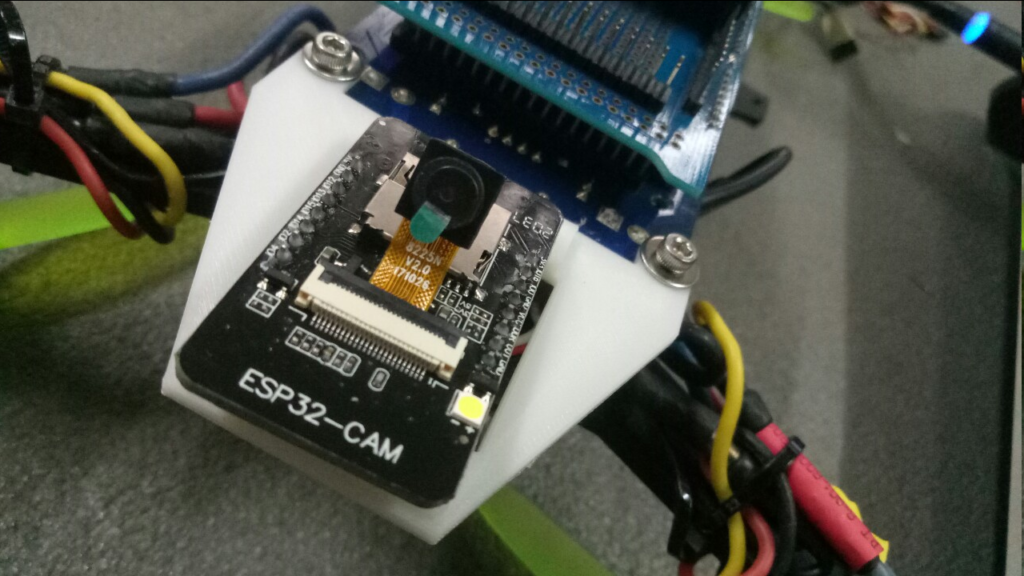
ESP32- CAM OV2640 Camera Module
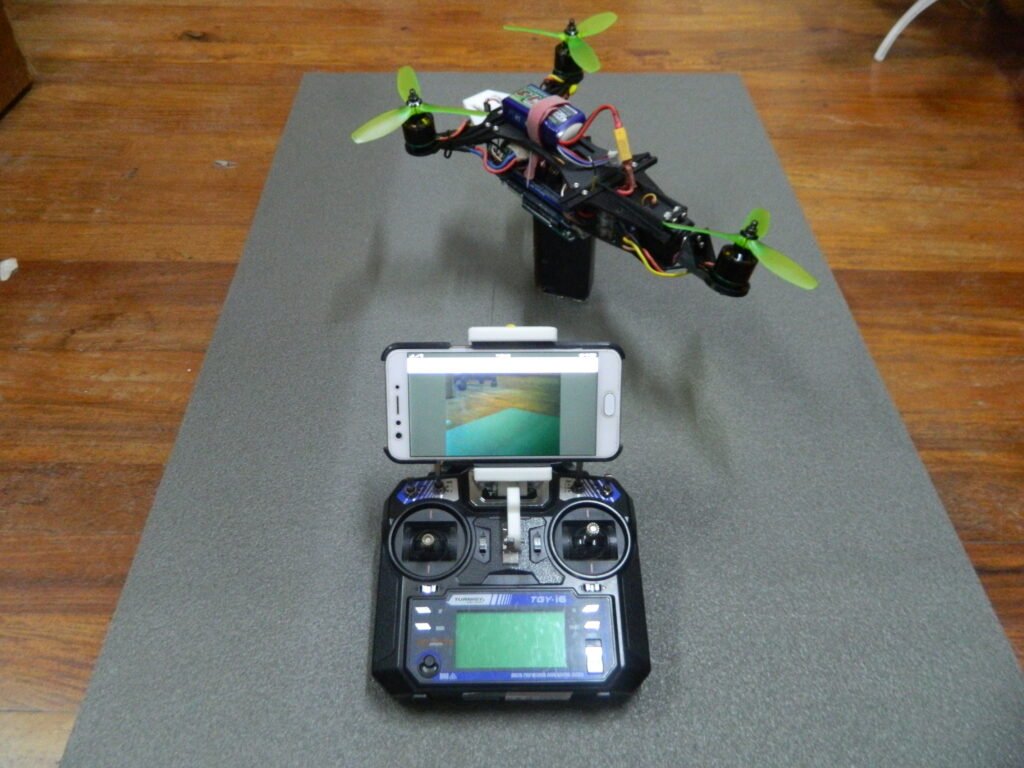
Basic Wifi FPV using the ESP32 Camera module intended to direct access point to phone
ESP32 development boards with a camera are becoming very popular among the maker community. There are several models with different features like microSD card support, microphone, screen, and much more for a very reasonable price. These boards allow you to build projects with image, video streaming, face recognition and detection, and other AI applications.
ESP32-CAM Comparison Table
Log wifi on two options
ESP32-CAM-Video-Access-Point : search wifi network for (ESP32 CAM Access Point) Password :123456789 IP Address 192.168.4.1
ESP32-CAM-Video-Streaming : (Requires both your device and ESP32-CAM connected to your Router – Router SSID and Password required) Reset button of the ESP32-CAM then goto Tools > Serial Monitor and Copy the IP address
For additional Range you may wish to configure for IPEX Connector External Antenna
Projects with video streaming could disconnect frequently when you don’t use an external antenna due to poor connectivity at longer distance. So, make sure you get one to have your projects working reliably.
To enable or disable the on-board antenna, you just need to unsolder that resistor and solder it in the desired configuration. You can also drop some solder to connect those points (you don’t necessarily need to add the resistor as long as the pads are connected).

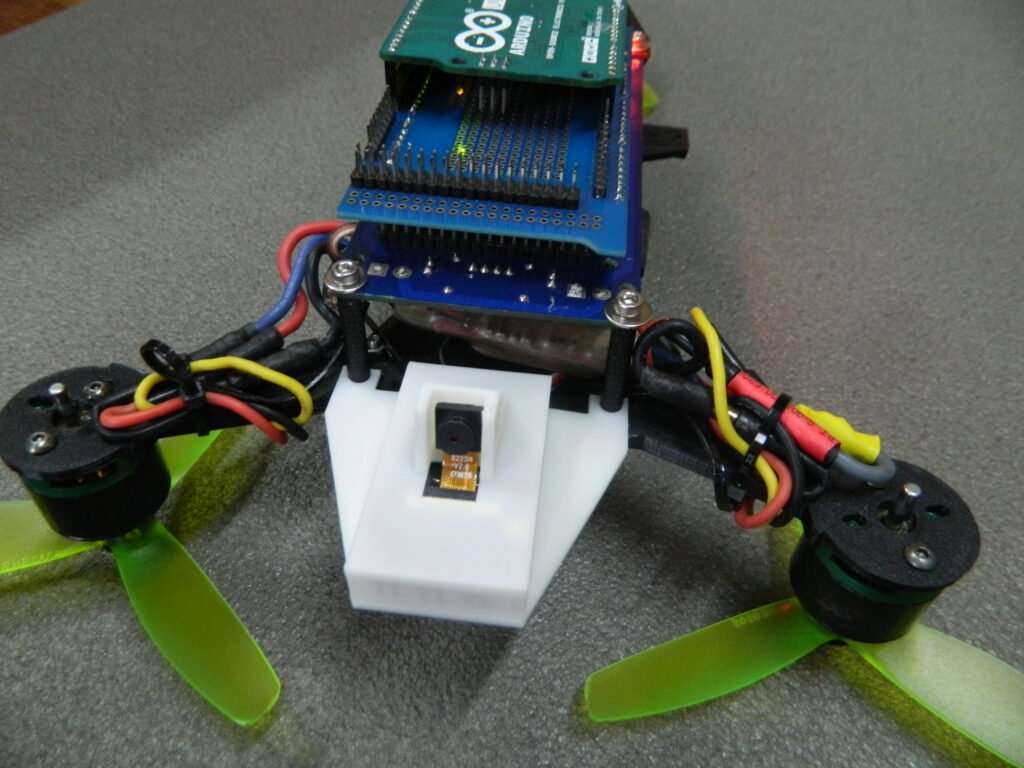
Connect to the Synerduino PWM pins for power (Ideal if you have a External UBEC) or an ESC with one

Arduino IDE Setup
File > Preference > Additional Board Manager >
Add this links
https://github.com/stm32duino/BoardManagerFiles/raw/main/package_stmicroelectronics_index.json
https://adafruit.github.io/arduino-board-index/package_adafruit_index.json
https://dl.espressif.com/dl/package_esp32_index.json
https://raw.githubusercontent.com/espressif/arduino-esp32/gh-pages/package_esp32_index.json
Tools > Board: AI Thinker ESP32-Cam
Then, click the Upload button in your Arduino IDE.

When you start to see some dots on the debugging window, press the ESP32-CAM on-board RST button.
Some models have FLASH button this is press while pluging the USB to put the board into programming mode

